How To Crop a Photo or Image on a Mac

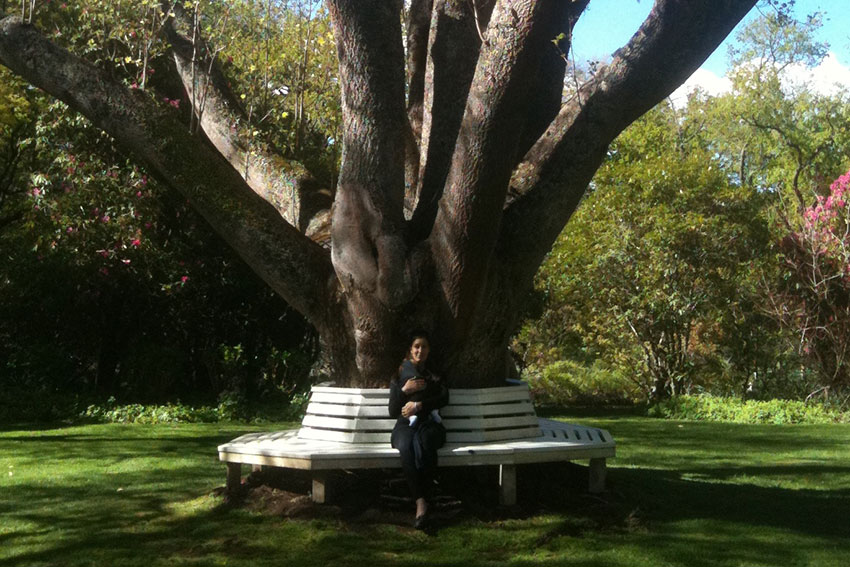
Sometimes you may want to crop an image before you post it onto your website, Facebook or Pinterest page. For example, imagine I wanted to share an image of a visit to the Southern Highlands, but wanted to crop it so you can see me more clearly.
Note – these instructions apply to image files, such as photographs. These kinds of files end with the letters .jpg or .jpeg.
1. To do this, first find the image file on your computer (e.g. on your Desktop or via the Finder) and open it. By default, it will open in a program called Preview.
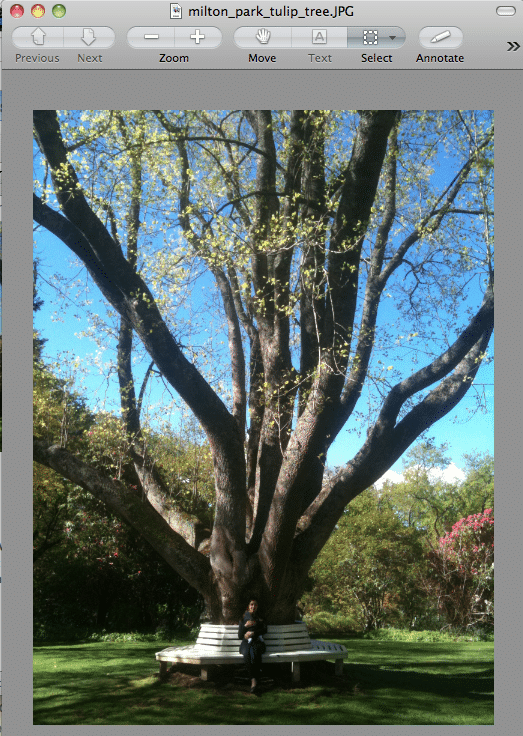
2. Make sure the Select tool is selected (the button on the far right at the top of the Preview window). Click on it if it isn’t already selected.

3. Move your mouse over the photo, and you’ll see a crosshair (+). Select the area you want to keep (click the mouse and drag the crosshair at the same time).
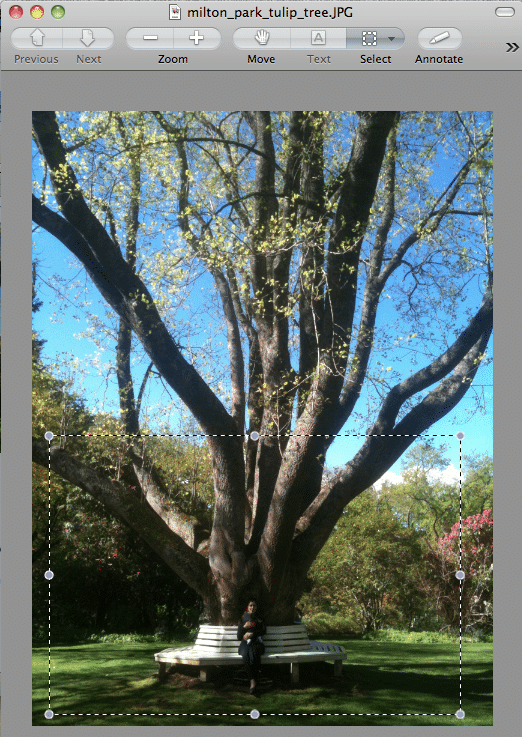
4. Go to the Tools menu at the top, then select Crop.

5. Go to the File menu, then select Save. Your cropped image is now ready to use.